The level of water in a pool that has been properly installed and maintained tends to remain moderately systematic. This will however depend on the weather and the frequency of use of the pool, as well as how many people use it. Acute chemical imbalance or heavy rainfall will require that the water volume in the pool is reduced. It is much easier to remove the excess water from the pool manually using a pump. Provided you have a place to drain the water, where the elevation is lower than the water level you need in the pool, then siphoning is the easiest method to aid you in this. The following are the steps you will take to make the process effective and fruitful.

Step 1 : Checking Process
Check the drainage area, and ensure it can handle the volume of water you intend to add to it without damage. Try to make sure it does not overflow into the adjacent property, storm drain or the public street.
Considering the vastness of the pool, it is likely the water in it is too much and unless you have a substantially bigger place to drain the excess to the required water level, it may end up being an inconvenience, not just to you but to your neighbors as well or even the public. This will mean you have to incur other expenses to repair the further damage. If local regulations demand that you back flush the pool filter into the provided sanitary sewer, it is advisable to siphon the excess water into a sewer clean out or a house drain.
This way, a drainage area in your backyard may not be necessary. If you are having a problem finding a drainage area, it may be a good idea to seek the services of a trained professional, a plumber for instance. A professional will advice you on the variants and help you select the ideal location to drain the water, free from inconveniences to the surroundings. With this regards, you will be able to avoid a lot more trouble or causing more harm to your home than good.
Step 2: Adjusting and Fitting
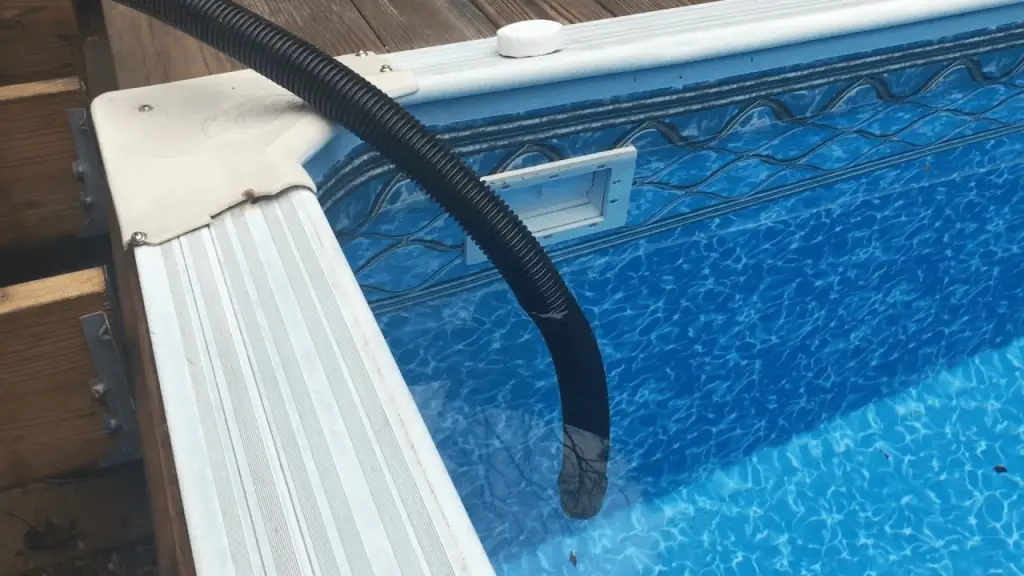
Submerge one of the garden hose into the hose. To make this process more effective, you will need to use a hose that has a wider diameter, preferably 0.75 inches to make your work not just faster but even more productive. Afterwards, you will need to feed the garden hose into the pool slowly until it is entirely filled with water and submerged beneath it, leaving only the last foot out. This will enable you access the hose even when outside the pool and give you enough space and time allowance to process the idea of siphoning water from the pool thus preventing chocking by water. A lighter garden hose would be ideal for this entire process as a heavier will be hectic and difficult to handle.
This means that you will need one made out of PVC or an alternative that is lighter. Rubber garden hoses are not so recommended but if you can find one that is much easier to handle it world also be a great accessory as it is sturdy to withstand harsh conditions. The best garden hose to perform this task effectively would be a clear one. It will enable you observe and track the flow of water to prevent breaking the film or causing back flow.
Step 3 : Starting Process
When the hose is entirely submerged in the water, hold the other end in your hand then lower it beneath the water surface to fill up the remaining space with a little more volume. While it is still submerged, screw a hose cap at the open end of the hose. Now lift the end of the hose with the screw cap off the water surface then pull it towards the drainage area, where the water will be poured off into. Try to get a good grip of it so that the cap does not fall off and the hose doesn’t start pouring the water before you get to the drainage area as this will give you some more work you may not be able to handle yourself.
Step 4 : Siphoning Water
Place the hose close to the clean out or drain or on the ground where you intend to empty the volume of the pool. When you get to the drainage point, uncap the hose by removing the cap at the end of the hose then start siphoning. As you siphon water into a sewer clean out or drain, try to maintain an air gap in between the drain or clean out. This will help prevent back flow contamination which would render the exercise futile since you will end up messing up the pool instead of cleaning it up.
Also, ensure there are no contaminants in sight or within reach that could get into the pool through the garden hose. Improper installation will not only be an inconvenience during the process, it is likely to go further to ruin your relationship with those around you if anything goes amiss. For this reason, it is important to ensure that close attention is paid to prevent any accidents.
Step 5 : Ending Process
This is now the moment of action where you have to be more keen than ever. Any mess done during this stage could screw up the entire work which is exhausting. You do not really intend to empty the entire pool so a muddle is totally out of question. Besides, you need to make this procedure as simple as is possible and save yourself some time which means dedication and attention are absolutely paramount. This is where you drain the pool to the desired level, leaving only the much water you feel will be useful and necessary in the pool. After this, you will need to remove the hose from from the pool or alternatively lift the hose and raise the draining end a little higher than the level of the water to curb the siphoning.
Whenever you intend to empty your pool or reduce its volume considerably, consult with your local health department and other county services offices for recommendations on the right procedures. However, as a warning, before you can empty an in -ground ensure all hydro -static relief valves if any are open in order to prevent any apparent damage to the deck and pool shell.


